Serving central Maryland & eastern shore
How to Fix a Dripping Faucet
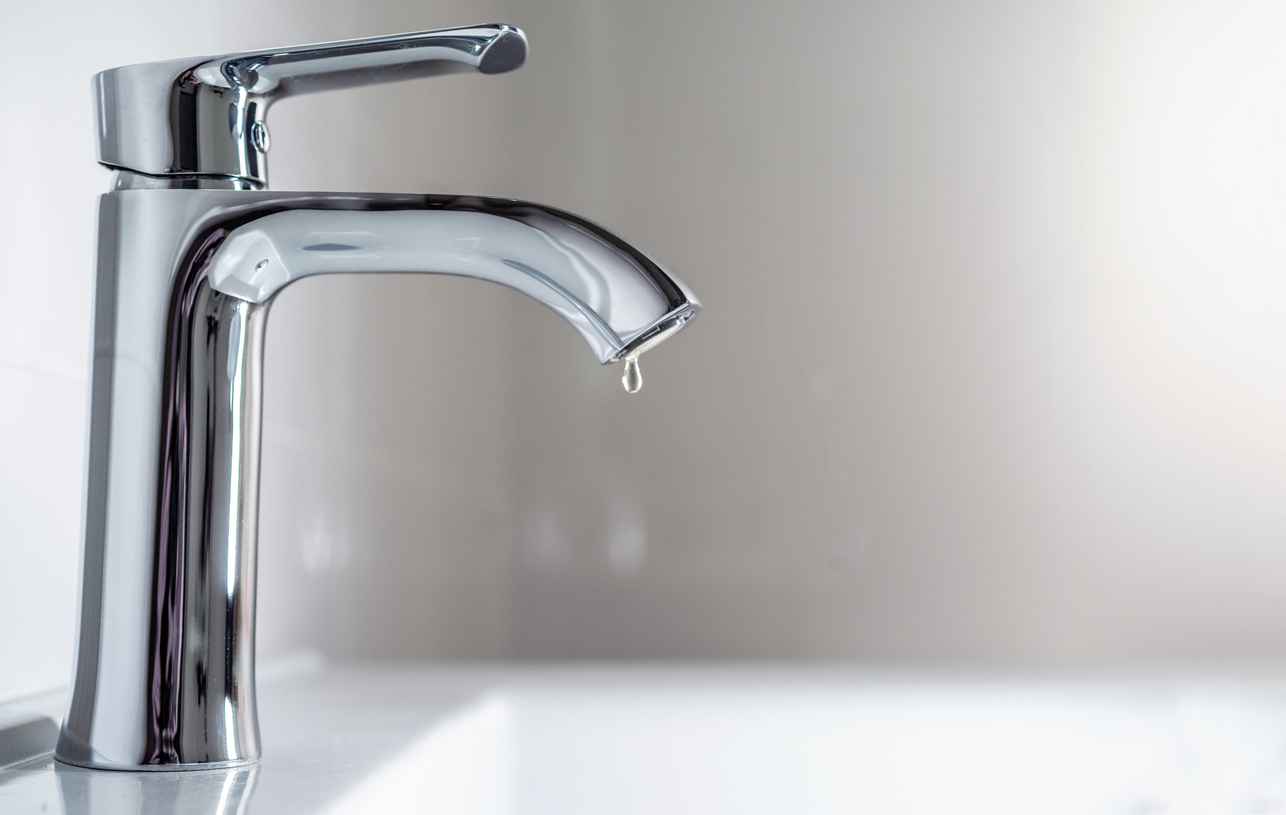
A dripping faucet is more than just a minor annoyance; it can lead to significant water waste and increased utility bills over time. The constant sound of dripping can be maddening, and the wasted water adds up quickly, impacting both your wallet and the environment. Fortunately, learning how to fix a dripping faucet is a straightforward task that most homeowners can handle with a few basic tools and a little patience.
In this guide, we’ll walk you through the steps to stop that pesky drip and save both water and money. By addressing the issue promptly, you can avoid the long-term consequences of a leaking faucet and maintain the efficiency of your plumbing system.
Identifying the Type of Faucet
Before you can fix a dripping faucet, it’s essential to identify the type of faucet you have. The most common types include:
- Compression Faucets: These have separate handles for hot and cold water.
- Ball Faucets: These are single-handle faucets typically found in kitchens.
- Cartridge Faucets: These can be either single-handle or double-handle.
- Ceramic Disk Faucets: These are durable and have a single handle.
Knowing the type of faucet will help you understand what parts may need to be replaced.
Steps to Fix a Dripping Faucet
- Turn Off the Water Supply: Locate the shut-off valves under the sink and turn them off. If there are no shut-off valves, turn off the main water supply. Open the faucet to drain any remaining water.
- Plug the Drain: Use a sink plug or a rag to block the drain. This prevents small parts from falling down the drain during the repair.
- Remove the Faucet Handles: Use a screwdriver to remove the handles. Depending on the type of faucet, you may need to remove decorative caps to access the screws.
- Disassemble the Faucet: Carefully disassemble the faucet to access the internal components. Use penetrating oil if parts are stuck. Keep track of the order and orientation of parts as you remove them.
- Inspect and Replace Parts: Examine washers, O-rings, and cartridges for signs of wear or damage. Compression faucets often have worn-out washers, while cartridge and ball faucets may need new cartridges or O-rings. Replace any damaged parts with exact matches.
- Reassemble the Faucet: Reassemble the faucet in the reverse order of disassembly. Use plumber’s tape on threaded connections to ensure a tight seal. Be careful not to overtighten screws or nuts to avoid damaging the faucet.
- Turn On the Water Supply: Turn on the water supply and open the faucet to check for leaks. If the faucet still drips, double-check that all parts are correctly installed and securely tightened.
Tips for Preventing Future Drips
- Regular Maintenance: Periodically check and replace worn parts to prevent drips before they start.
- Gentle Use: Avoid turning handles too tightly, which can wear out washers and seals.
- Water Quality: Hard water can cause mineral buildup that damages faucets. Consider installing a water softener if you have hard water.
Fixing a dripping faucet is a manageable task that can save water and reduce your utility bills. By following these steps, you can tackle the most common causes of a dripping faucet and prevent future issues.
Plumbing Services in Central Maryland
If you encounter any difficulties or prefer professional assistance, don’t hesitate to contact Staton Heating, Cooling & Plumbing. Our experienced team is ready to handle all your plumbing needs in Central Maryland. Reach out to us today to schedule a service and ensure your home’s plumbing is in top condition.


